Paper Flower Templates for Cricut: Cut, Shape and Assemble
A paper flower is a stack of cut layers: a few sizes of petals, shaped by curling, glued from the largest to the smallest, around a rolled center. A cutting machine makes the layers identical every time, which is the hard part by hand. This guide takes you through a 12 inch wall flower from template to display.
What you need
- Cardstock, 65 to 80 lb, in 2 or 3 shades (about 6 sheets for a large flower)
- A flower template in SVG or DXF with 3 to 4 petal sizes
- Hot glue or craft glue
- A pencil or bone folder for curling
- Floral wire or a backing for the stem or wall mount
- Optional foam center
Step 1: Pick a template
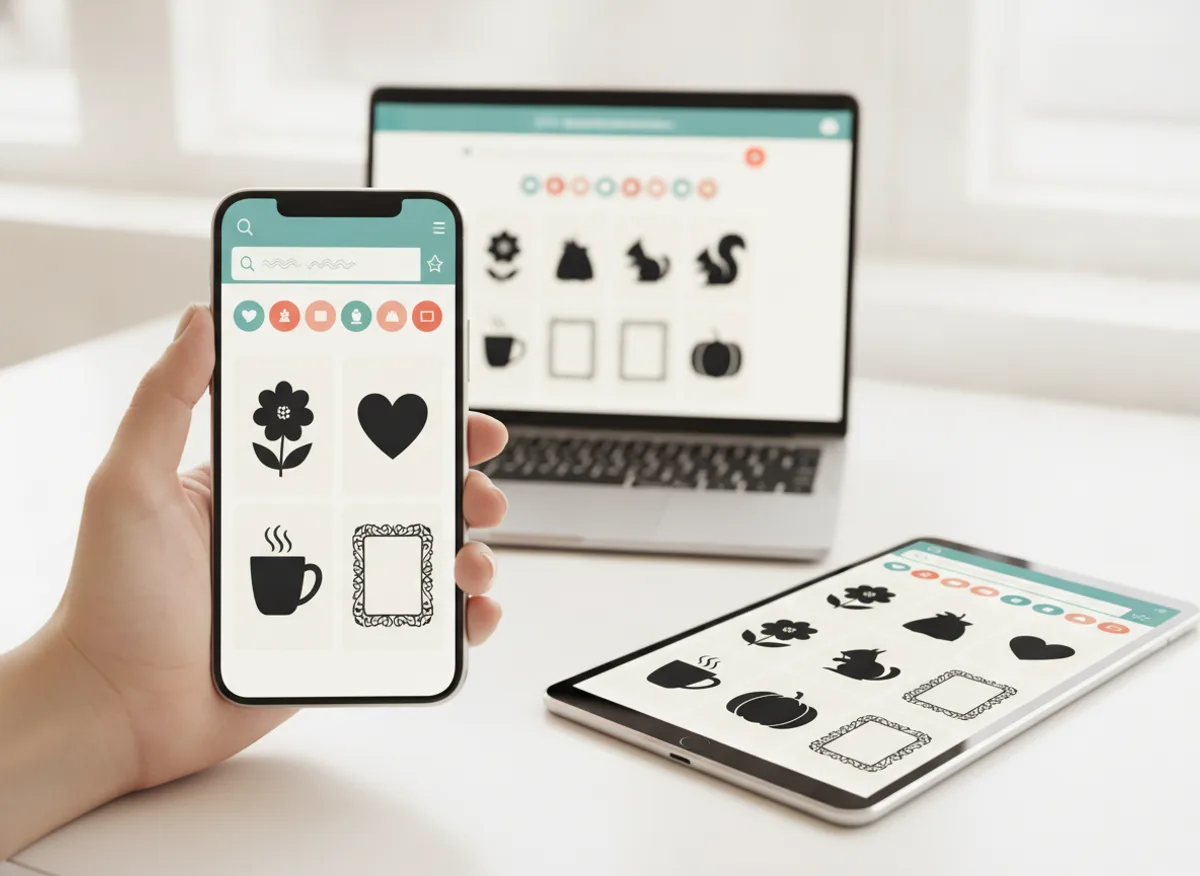
Choose a flower with layers: three to four rings of petals in graded sizes, plus a center. Size the largest layer to about 12 inches for a wall flower, or to about 3 inches for small gift flowers. Check that the template fits your mat or reduce its size.
Step 2: Cut
- Choose the cardstock setting.
- Cut 3 sets of each petal size for a full bloom.
- Run a test cut on one layer to check the blade and pressure.
Pay attention to the grain. Petals curl best across the grain.
Step 3: Shape
Place each petal on a soft surface and roll a pencil across it from the tip to the base so the edges curl. Add a slight inward fold at the base so the petals cup. Natural curves make the flower look real.
Step 4: Assemble
- Glue the petals of one ring together, overlapping the bases a little, to form a cup.
- Glue the smaller ring inside the larger one, turning it slightly so the petals fall between those below.
- Continue to the smallest ring.
- Roll a strip of paper into a tight coil for the center and glue it in.
- Use small dots of glue. Too much leaves visible marks.
Step 5: Add a stem or backing
Attach a wire for a bouquet, or glue a flat backing for a wall display. Let it rest for an hour before moving it.
Common problems
| Problem | Cause | Fix |
|---|---|---|
| Flat flowers | No shaping | Curl each petal |
| Visible glue | Too much glue | Use small dots |
| Petals break | Curled against the grain | Test the grain direction |
| Clashing colors | No plan | Pick three shades before cutting |
| Wobbly stem | Short drying time | Rest it for an hour |
Ideas for what to make
- A wall backdrop made from five to seven flowers
- A bouquet with wired stems
- Mini flowers, about 3 inches, for gift toppers
- Wedding or party pieces that match, such as a cake topper and table decor
Keep paper flowers dry and out of direct sun. A light coat of matte sealer helps in humid places.
Cut files built for this
CutNest Design Library includes a project guide called Paper Flowers, which covers the materials, a time plan, the steps and the usual mistakes. It also has floral designs and mandalas among its 60 categories of SVG cut files, each with a DXF version for software that cannot open SVG. The CutNest Finder web app lets you preview the real file before you download it. The CutNest Commercial License in the package covers making and selling physical products from the designs.
For more floral ideas, see floral and botanical SVG cut files. Like stencils too? Try the Cricut stencil guide. If you sell your flowers, read Cricut projects to sell.
CutNest is not affiliated with Cricut. Brand names appear only to describe compatibility and the topic searched.